Leave Your Message
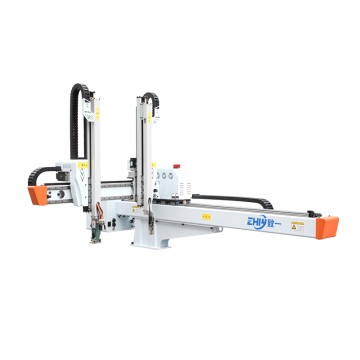
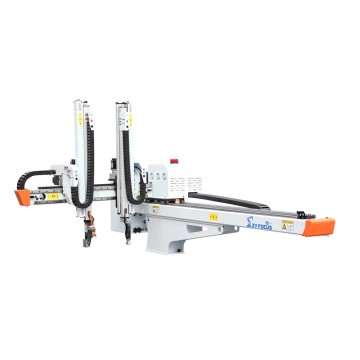
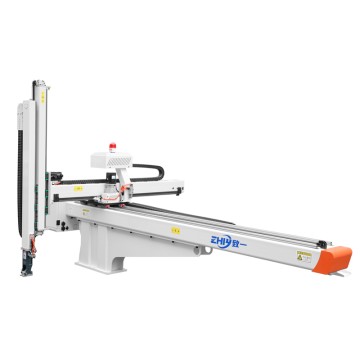

A Guide to Key Points for Trial and Testing of Three-Axis Servo Robot Arms
A Must-Read Before Purchasing: A Guide to Key Points for Trial and Testing of Three-Axis Servo Robot Arms
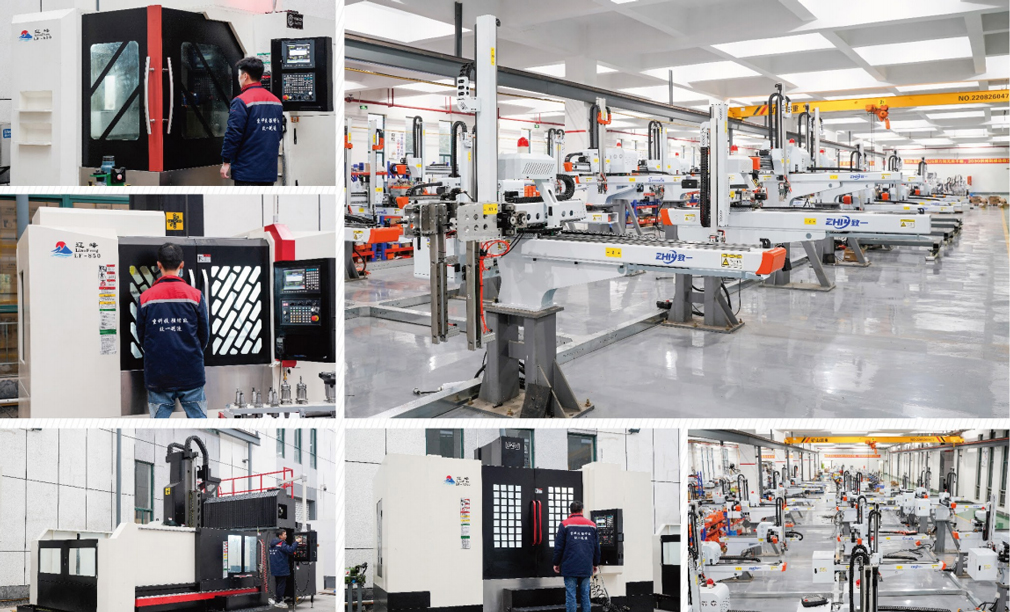
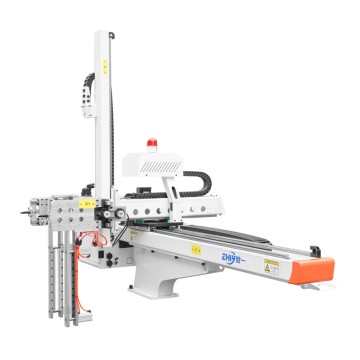
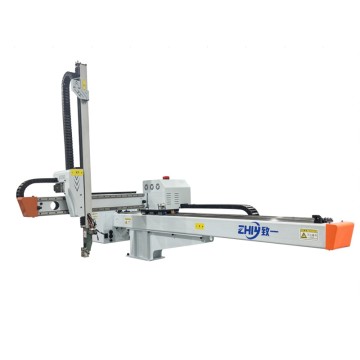
In the wave of industrial automation, three-axis servo robot arms, with their high precision and stability, have become core equipment in electronics manufacturing, automotive parts, food packaging, and other fields. However, with so many products on the market, it's difficult to determine whether a device is suitable for your production needs based solely on data sheets. Pre-purchase trial and testing are crucial steps to mitigate investment risks and ensure efficient operation. This article will analyze the key points for trial and testing of three-axis servo robot arms from four perspectives: pre-trial preparation, core performance testing, safety verification, and compatibility assessment, to help buyers accurately select equipment that meets their expectations.

I. Before Trial: Three Basic Preparations for More Efficient Testing
Trial testing isn't just about "getting the equipment and turning it on." Thorough preparation upfront can prevent deviations in testing direction and enhance the value of the results. We recommend starting with the following three aspects:
1. Clarify the test objectives and their compatibility with the scenario.
First, clearly define the test objectives based on your production needs. For example:
If the device is used for electronic component assembly, focus on testing "repeatability" and "motion smoothness";
If it is used for heavy object handling (e.g., parts weighing over 5kg), focus on "load capacity" and "servo motor torque stability";
If it is to be integrated into an existing production line, it is also necessary to confirm in advance the compatibility of the "device size," "mounting interface," and workshop layout.
It is recommended to create a "Test Requirements List" and clearly define the "qualification criteria" for each test item (e.g., repeatability must be ≤±0.02mm) to avoid biased decisions later due to subjective judgment.
2. Prepare an Appropriate Test Environment and Tools
The performance of a three-axis servo robot arm is significantly affected by the environment, so the test environment should closely simulate actual production scenarios:
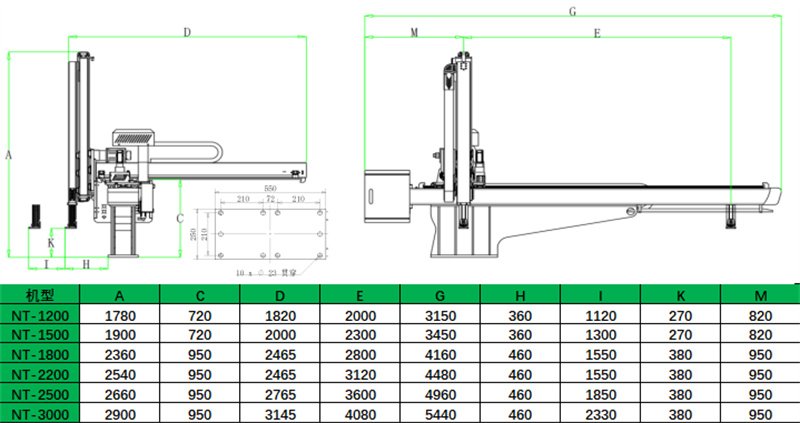
Space Requirements: Reserve sufficient "safety travel" for the device's movement (refer to the axis travel data in the device's datasheet, e.g., 300mm for the X-axis, 200mm for the Y-axis, and 150mm for the Z-axis, and allow an additional 10%-20% buffer space).
Power and Air Source: Confirm that the power supply voltage (e.g., AC 220V/380V) and air pressure (e.g., 0.5-0.7MPa) match the device's requirements to prevent servo motor malfunctions caused by voltage instability.
Test Tools: Prepare high-precision measuring equipment (e.g., micrometer, laser interferometer), load simulation tooling (e.g., metal blocks of appropriate weight), and a data logging form (to record test data and abnormalities).
3. Clarify testing support details with the supplier.
Communicate the following with the supplier in advance to ensure smooth testing:
Whether on-site technical guidance will be provided to prevent equipment damage due to improper operation;
Whether testing of custom programs (such as simulating the "grasp-move-place" cycle used in production) is permitted;
If performance does not meet requirements during testing, whether parameter adjustments or replacement of the equipment prototype are supported.
II. Core Performance Testing: Focusing on Five Key Metrics to Determine Equipment Accuracy and Stability
The core value of a three-axis servo robot arm lies in "high precision" and "high stability." Testing focuses on verifying the following five metrics. Each test should be repeated 3-5 times, and the average value calculated to minimize error.
1. Repeatability: The "Lifeline" of Industrial Applications
Repeatability refers to the deviation in the position of the end effector (such as a gripper) after the device performs the same action multiple times. It is a key metric in applications such as electronic assembly and precision welding.
Test Method:
Install a dial indicator on the end of the robot arm and align the dial indicator probe with a fixed reference point (such as a locating pin on the work surface).
Write a program to have the robot arm move the dial indicator to the reference point and record the dial indicator reading.
Repeat this action five times and calculate the difference between the maximum and minimum readings. This represents the repeatability.
Qualification Criteria:
General industrial-grade three-axis servo robot arms require repeatability of ≤±0.05mm, while precision-grade equipment requires repeatability of ≤±0.02mm (depending on your production needs, for example, mobile phone screen assembly requires ≤±0.01mm).
Note: During testing, disable the "error compensation" function (some equipment has compensation enabled by default, which may obscure the true accuracy). Ensure the work surface is free of vibration (use anti-vibration pads on the floor).
2. Positioning Accuracy: Ensuring the Accuracy of the Motion Trajectory
Positioning accuracy refers to the deviation between the actual position of the end effector and the programmed position after the equipment executes a motion, which affects the continuity of the production process. Test Method:
Use a laser interferometer to build a measurement system, and install a reflector at the end of the robot arm.
Evenly select 5-8 test points within the travel range of the X, Y, and Z axes (e.g., from 0mm to maximum travel on the X axis, select a point every 50mm).
Control the robot arm to each set point, record the actual position deviation indicated by the laser interferometer, and calculate the maximum deviation across all points.
Qualification Criteria: Positioning accuracy must be ≤ twice the repeatability (e.g., repeatability ±0.02mm, positioning accuracy ≤ ±0.04mm), and the deviation must be stable (no sudden fluctuations).
3. Load Capacity: Verify the Equipment's "Load Limit"
Load capacity refers to the maximum weight (including the gripper weight) that the end of the robot arm can support at rated speed. Exceeding the rated load can cause the servo motor to overheat, reduce movement speed, or even damage the equipment. Test Method:
Install a standard load fixture at the end of the robot arm (weight increases gradually from 50% to 120% of the rated load. For example, if the rated load is 5kg, test weights of 2.5kg, 5kg, and 6kg).
Program the robot arm to complete a "lift + translation" cycle at the rated speed (refer to the device's datasheet, e.g., a maximum X-axis speed of 500mm/s) (test 10 cycles for each load).
Observe the device's operating status: for any speed drop, abnormal motor noise, or alarms (such as overload).
Qualification Criteria:
Under the rated load, the device must produce no abnormal noise or alarms, and the movement speed must be consistent with the datasheet. At 110%-120% of the rated load, a slight speed drop (≤10%) is permitted, but no alarms or shutdowns are permitted.
4. Speed and Acceleration: Impacting Production Efficiency
Speed and acceleration directly determine the robot's operating efficiency. Testing should be conducted in accordance with production cycle requirements to verify that the device can achieve the expected efficiency.
Test Method:
Use a timer to record the time it takes the robot to complete a "distance from point A to point B" (a known distance, such as a 200mm X-axis movement) and calculate the actual speed (speed = distance / time).
Test the robot's motion at different accelerations (e.g., increasing the acceleration from 0.5m/s² to 1.5m/s²) to observe whether there are any "stuttering" or "overshoot" (i.e., reversing after exceeding the set position).
Qualification Criteria:
The actual speed must be ≥ 90% of the value specified in the data sheet (e.g., if the data sheet specifies a maximum X-axis speed of 600mm/s, the actual speed must be ≥ 540mm/s). During acceleration adjustments, the movement must be smooth, with no noticeable overshoot (overshoot must be ≤ ±0.1mm).
5. Continuous Operation Stability: Simulating Long-Term Production Scenario
The Robot Must operate continuously for 8-12 hours in an industrial setting. Stability testing can identify potential problems associated with long-term operation (e.g., motor overheating, poor wiring connections). Test Method:
Create a cycle program that simulates actual production (e.g., "grab - move - place - return to origin," with each cycle taking 10 seconds).
Run the equipment continuously for 4 hours, recording key data every 30 minutes: servo motor temperature (measured with an infrared thermometer, normally ≤60°C), operating noise (measured with a noise meter, normally ≤70dB), and any alarms.
After the run, retest the repeatability to determine if heat generation has caused a drop in accuracy.
Qualification Criteria:
No alarms or abnormal noise during continuous operation, stable motor temperature (temperature difference ≤10°C); repeatability deviation after the run is ≤15% of the initial test value.
III. Safety and Compatibility Testing: Avoiding Later Adaptation Challenges
In addition to core performance, safety and compatibility directly impact the equipment's "landing cost." Neglecting these two tests can lead to production line modifications, safety incidents, and other issues.
1. Safety Testing: Three Dimensions of Operational Safety
Three-axis servo robotic arms are automated equipment and must comply with industrial safety standards (such as ISO 13849). Key testing focuses include:
Emergency Stop Function: After pressing the emergency stop button, the device must stop within 0.5 seconds, with all axes locked (no free sliding). After restarting, it must return to its origin before operation.
Safety Devices: If the device is equipped with a safety light curtain/safety door, if an object blocks the light curtain or opens the safety door, the device must immediately pause and cannot be manually restarted (it must be reset before operation can begin).
Overload Protection: When the end load exceeds 150% of the rated value, the device must trigger an overload alarm and shut down to prevent motor burnout (this can be tested by loading an overweight fixture).
2. Compatibility Testing: Ensuring Integration into Existing Production Lines
If the purchased robot arm needs to be used with existing equipment (such as conveyors, PLC control systems, or visual inspection equipment), compatibility testing is essential:
Communication Interface Compatibility: Test whether the equipment's communication interface (such as RS485, EtherCAT, or Profinet) can communicate properly with the existing PLC and whether the "PLC sends a command - the robot executes an action" linkage can be achieved (e.g., after the conveyor delivers the workpiece to the specified location, the robot automatically grasps it);
Software Compatibility: Install the supplier's control software and test whether it runs on existing computer systems (e.g., Windows 10/11), supports custom programming (e.g., ladder diagrams, G-code), and is user-friendly (e.g., has a visual user interface and fault diagnosis capabilities);
End-Effector Compatibility: Test whether the equipment's flange interface is compatible with existing grippers (e.g., pneumatic grippers, vacuum cups), and supports gripper signal feedback (e.g., "grasp success/failure" signals transmitted to the control system).
IV. Post-Testing: Complete Two Closing Tasks to Provide a Basis for Purchasing Decisions
After the test, data should be promptly organized and any issues communicated to avoid any omissions that could affect purchasing decisions.
1. Prepare a Test Report to Quantify Equipment Performance
Organize all test data into a table, clearly defining "test item, standard value, actual value, and compliance." For example:
Test Item
Standard Value
Actual Value
Compliance
Repeatability (X-axis)
≤±0.02mm
±0.015mm
Complied
Rated Load Operating Speed
≥500mm/s
480mm/s
Failed
Emergency Stop Response Time
≤0.5s
0.3s
Complied
Also, record any abnormalities encountered during the test (e.g., "X-axis makes unusual noise under a 6kg load" or "Communication interface occasionally disconnects") and note the supplier's solution (e.g., "Noise disappeared after adjusting motor parameters").
2. Compare multiple suppliers and comprehensively evaluate cost-effectiveness
If testing equipment from multiple suppliers, consider a comprehensive comparison based on performance compliance, price, and after-sales service:
Performance compliance: Prioritize equipment that meets all core specifications (such as repeatability and stability), with minor minor specifications (such as noise) exceeding standards but adjustable.
Price: Avoid blindly pursuing the lowest price; calculate the purchase price + ongoing maintenance costs (such as the servo motor warranty and spare parts).
After-sales service: Verify whether the supplier provides installation and commissioning, operator training, and a warranty of at least one year, and whether they have a local after-sales service center (this can shorten troubleshooting time).
Conclusion: Trial testing is like "purchase insurance," and details determine the ultimate value.
The purchase cost of a three-axis servo robot arm typically ranges from tens of thousands to hundreds of thousands of yuan. Pre-purchase trial testing is not an "extra cost" but a "necessary investment" to mitigate risk. By clearly defining testing objectives, focusing on core performance, and verifying safety and compatibility, buyers can more accurately determine whether equipment matches production needs, avoiding issues like "buying the wrong equipment" and "difficulty with subsequent modifications."
If you encounter technical difficulties during testing (such as how to use a laser interferometer or write a test program), feel free to contact the supplier's technical team or consult a professional automation equipment testing agency. Remember: only equipment that has been verified through field testing can truly deliver cost reduction and efficiency improvement in industrial production.