
Leave Your Message
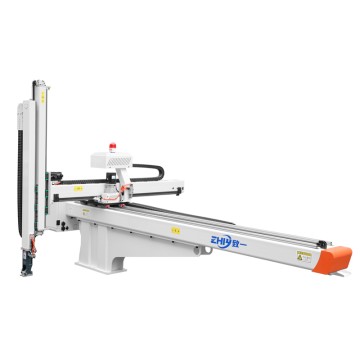
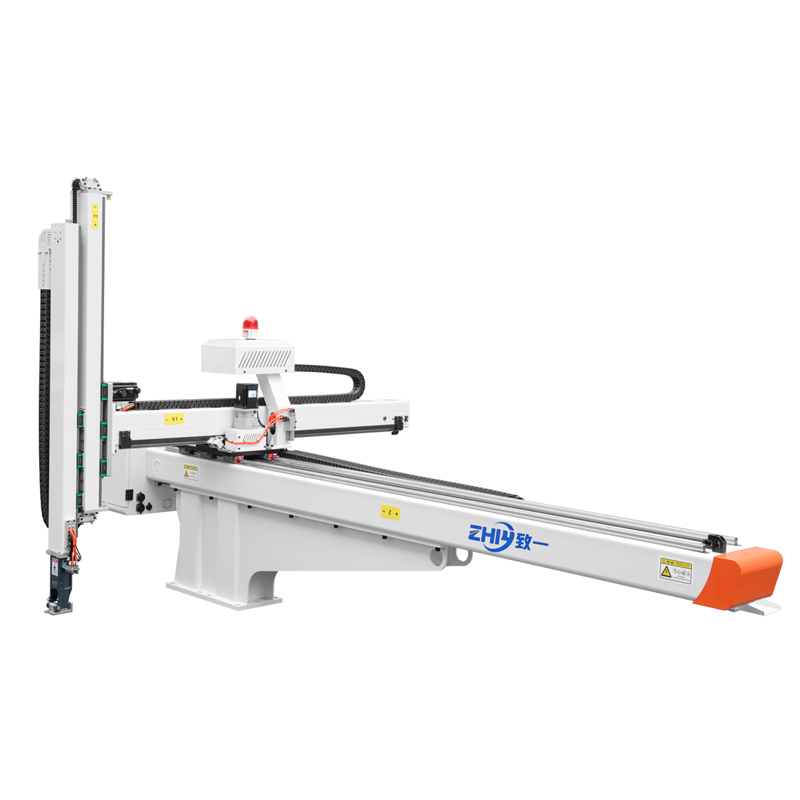
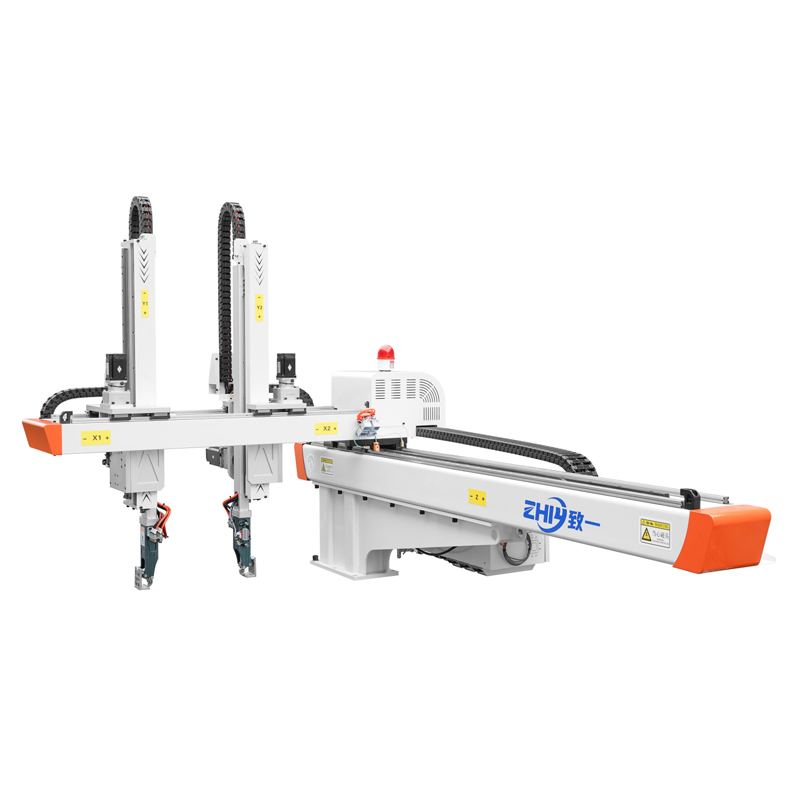
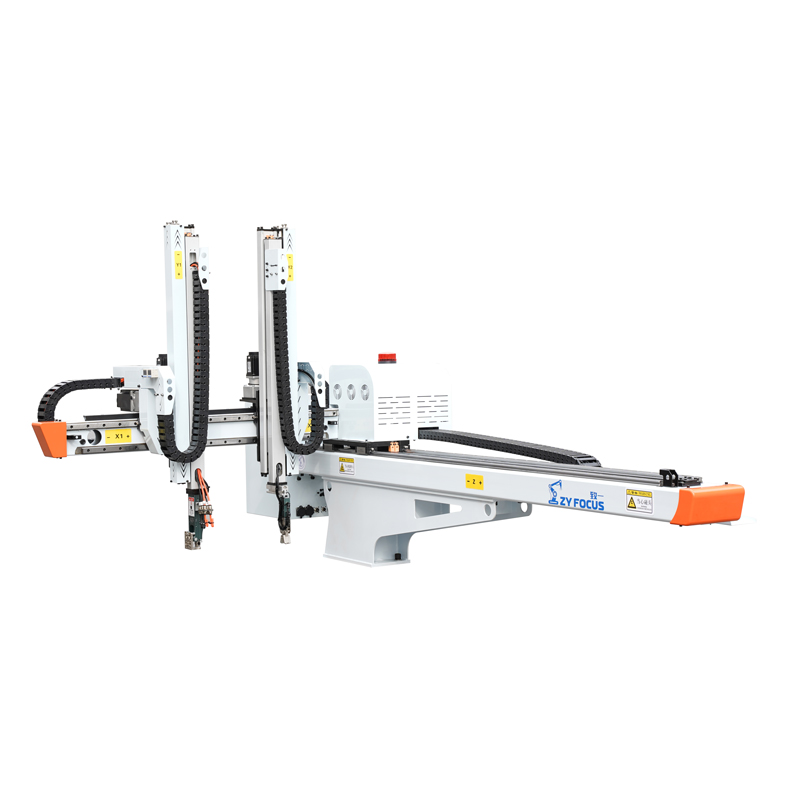
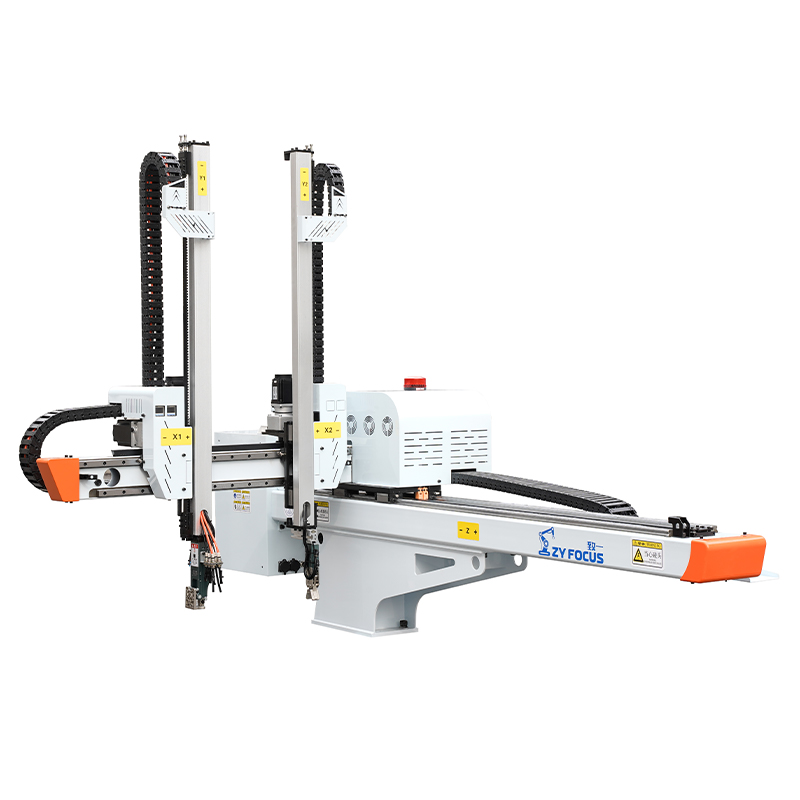
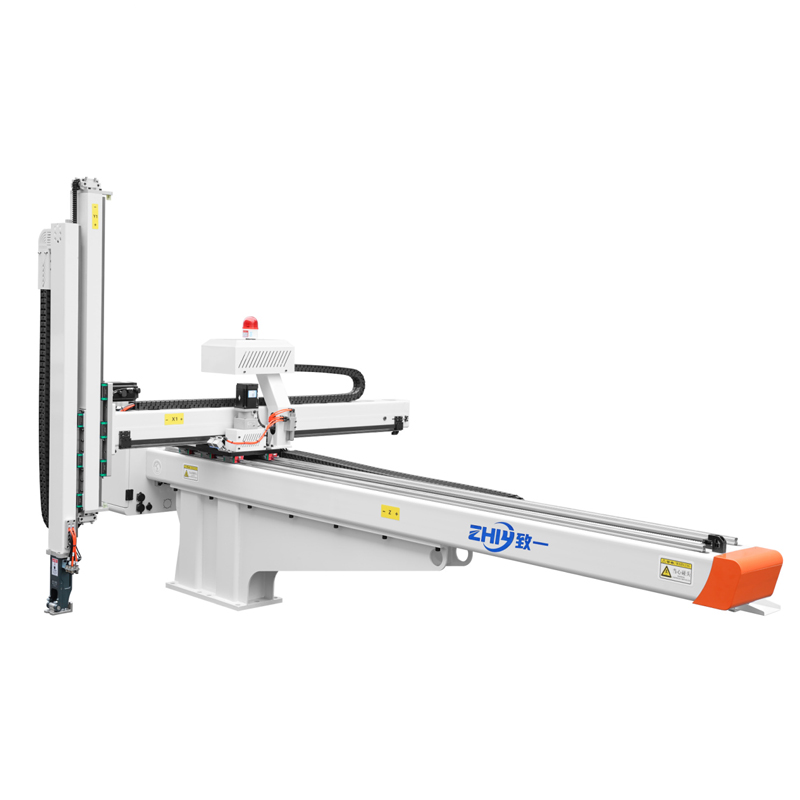
Downstream Automation After Take-Out: Conveying, Weighing and Packing Integration for Injection Molding Cells
Downstream Automation After Take-Out: Conveying, Weighing and Packing Integration for Injection Molding Cells
Most molding plants treat the servo robot as the finish line. A three-axis or five-axis arm pulls the part from the mold, drops it on a table, and a worker walks over to sort, weigh and box it. That hand-off is where margin leaks. A take-out cycle of 6 to 9 seconds means the cell can produce 380 to 600 parts per hour, yet the downstream operator becomes the bottleneck long before the machine reaches its ceiling. This article looks at what happens after the part leaves the gripper: the conveying method, orientation control, inspection, checkweighing, bin filling and case packing, and the signal handshake that keeps all of it synchronized with the robot. We write for plant managers, automation engineers and purchasing leads who are planning a cell, not for consumers.
Choosing the Right Conveying Method: Belt, Vibratory or Overhead Chain
The first decision after take-out is how the part travels from the mold area to the next station. Three options dominate, and the choice is driven by part geometry, surface sensitivity and floor footprint. A flat belt conveyor is the default for rigid shells, housings and containers up to roughly 1.2 kg. Belt speed should be matched to the drop cadence: for a 7-second robot cycle a belt speed of 0.25 to 0.4 m/s moves parts clear of the drop zone without tumbling them into the next one. A 400 mm wide belt at 0.3 m/s holds about 11 parts per meter, so a 3-meter run buffers 30 parts before the operator or next station.
For small, free-flowing components such as caps, connectors and silicone gaskets, a vibratory feeder orients and meters parts far better than a belt. The feeder separates nested parts and presents them single-file to a vision gate. The trade-off is noise, typically 68 to 74 dB at 1 meter, and wear on soft silicone surfaces. Overhead chain conveyors solve a different problem: when floor space is scarce and the packing station sits 8 to 15 meters away, a hanging carrier loop keeps parts off the ground and out of traffic. A double-arm five-axis cell feeding an overhead loop is common in automotive trim plants where the molding machine and the box erector are on opposite sides of an aisle.
Each method changes the robot end-of-arm tooling requirement. Belt drops need a soft landing zone and a part-present sensor 150 mm before the belt end. Vibratory lines need a gentle release so parts do not bounce off the lane. Overhead chains need a precise placement tolerance of ±10 mm at the carrier mouth. Get the conveying class wrong and you will buy a second conveyor six months later.
Part Orientation, Posture Control and In-Line Flipping
Parts rarely leave the mold in the posture the packer wants. A lid comes out concave-up; the case packer needs it concave-down to stack. A bracket exits with its mounting face toward the robot; the bin requires the face down to Nest 9 per layer. Orientation control happens in two places: at the gripper and on the conveyor. A servo wrist on a five-axis arm can rotate the part 90 or 180 degrees during the transit move, removing one downstream operation. For a thin-wall container, a 180-degree flip adds 0.4 seconds to the robot path but eliminates a dedicated flipper station that would otherwise cost USD 4,200 and occupy 0.6 square meters.
When the flip cannot be done in air, an in-line orienting device is mounted on the belt. A lift-and-rotate module, actuated by a small servo or pneumatics, turns the part under a photoelectric trigger. Settling time is 0.3 to 0.6 seconds. For asymmetrical parts, a guided chute with a shaped rail forces the correct posture by geometry alone, with no sensor and no actuator. The cheapest orientation solution is almost always a clever chute, not another servo axis.
Posture errors propagate. A part that arrives 15 degrees off at the checkweigher reads a different reflective signature and may trigger a false short-shot reject. Define an orientation tolerance at each station and verify it during FAT, not after the first shift on the customer floor.
Vision and Photoelectric Inspection Stations After Take-Out
Inspection splits into two tiers. A photoelectric sensor confirms presence, color and basic edge position; it costs USD 180 to 450 and runs at line speed with no compute load. A machine-vision station reads flash, gate vestige, surface scoring and label registry, typically at 1 to 4 megapixels with a cycle of 80 to 220 milliseconds per part. For a 600 parts-per-hour cell, a 200 ms inspection fits comfortably inside the 6-second spacing. For a 1,200 parts-per-hour thin-wall line, you need two cameras in parallel or a line-scan head.
Mount the vision enclosure with diffused LED lighting and a fixed mechanical stop so the part presents the same face every time. A floating part on a moving belt blurs the image boundary and pushes reject rate from 0.2% to 3%. Most vision failures in molding cells are lighting and fixturing problems, not camera problems. Set the acceptance threshold conservatively during week one, log every reject image, and tighten after 50,000 parts of real production data.
Checkweighing and Short-Shot Rejection
A short shot is the silent defect. The part looks complete but is 1 to 4 grams light, and it will fail downstream under load. A checkweigher on the conveying line catches it by mass. For a 48 g nylon clip, a a ±0.15 g checkweigher tolerance band separates good parts from short shots that run 0.8 to 3.2 g light, while tolerating normal material batch variation of ±0.3 g. Belt checkweighers at this accuracy cost USD 5,500 to 9,000 and sustain 120 to 200 weighs per minute.
The reject path matters as much as the scale. A pneumatic pusher diverts the bad part into a locked reject bin within 0.25 seconds of the weight verdict. The bin should be visible and countable, because a rising reject count is the earliest signal of a degrading nozzle or a clogged vent. Do not merge reject parts back into the stream; that defeats the purpose and corrupts your yield data.
Tip: commission the checkweigher with certified calibration masses before the first production run, or short-shot rejection will drift beyond 0.3 g within two weeks.
Bin Filling, Palletizing and Case Packing
The end of the line is where parts become units the warehouse accepts. Three forms exist: bin picking into returnable totes, layer palletizing for bulk shipment, and case packing for distribution. A bin-filling robot needs a bin-present sensor and a fill-level estimate, usually by counting parts or by a distance sensor reading the stack height. A 600 by 400 mm tote holding 3.5 kg parts fills in 220 to 400 drops; at a 7-second cycle that is 26 to 47 minutes per tote, so plan a tote changeover every shift or install an automatic tote exchange.
Case packing and palletizing share the same robot class as the take-out arm but often run on a separate controller to avoid coupling a packing fault to the molding cycle. A palletizer placing 12 kg cartons at 8 to 11 layers per minute needs a 1.5 kW servo and a floor pad rated for 800 kg. The hand-off from checkweigher to packer should include a small accumulator so a jammed case erector does not stop the mold. A 1.2-meter roller buffer holds 40 cartons and buys 90 seconds of independent run time.
Handshake Timing Between Robot and Downstream Equipment
Synchronization is the difference between a cell that runs and a cell that stalls. The robot does not "hope" the belt is ready; it waits for a part-present-clear signal before releasing, and the conveyor controller confirms a drop-ok before the robot returns to the mold. Over a EUROMAP 67 and EUROMAP 73 signal mapping the handshake uses discrete I/O plus a heartbeat. Map at minimum: robot-to-conveyor "part released", conveyor-to-robot "zone clear", vision-to-robot "reject detected", checkweigher-to-pusher "divert now". Each signal gets a debounce of 20 to 50 milliseconds to kill contact bounce.
Missing the handshake design is the most common cause of repeated micro-stops. A plant in Ningbo lost 11% throughput for three weeks because the belt "zone clear" was wired to a sensor 200 mm too early, so the robot dropped onto a part still in transit. Move the sensor, regain the 11%. Document every signal in the FAT protocol so the next service engineer does not guess.
Cycle Matching, Buffering and Throughput
The cell is only as fast as its slowest fixed element. A a 15 to 20 second robot cycle window for a deep-draw automotive housing sets the available budget: take-out 8 seconds, flip and place 3 seconds, return and re-home 4 seconds, leaving 0 to 5 seconds of slack for conveyor index. If the packing station needs 22 seconds, you must parallelize it on a second lane or add a buffer, not slow the robot. Throughput math is unforgiving: at 1,000 parts per hour the line makes 8,000 per shift; a 5% stop from poor buffering is 400 lost parts, or roughly USD 90 of material and machine time per shift.
Buffer design follows a rule of thumb: hold enough parts for the longest single downstream fault you can tolerate. A 30-second vision restart needs 5 parts buffered at 6-second spacing. A 4-minute case-erector reel swap needs 40 parts. Build the buffer as a low, wide belt segment rather than a tall stack, to protect soft surfaces and keep orientation stable.
Floor Space, Safety Fencing and Light-Curtain Interlocks
Downstream equipment spreads the cell outward. A typical integrated line occupies a 3.2 meter by 2.4 meter cell footprintfor the robot plus 4 to 7 meters of conveyor and packing run, against 2.2 by 1.8 meters for A Robot-and-table setup. That extra floor is the price of removing the operator. Plan the fence line before the machines arrive; retrofitting guarding after installation triples the labor.
Safety runs on interlocks, not on signs. A light curtain across the packing aisle drops the conveyor and signals the Robot Controller to hold when a hand breaks the beam. The robot must not restart on curtain reset until a separate hold-reset is pressed, per ISO 10218 stop-category logic. Erect the fence with a 600 mm service gap on the mold side only, and lock every other access point. A cell that stops on a broken curtain but restarts on its own is a liability, not a feature.
Labor Elimination and ROI Calculation
The business case is simple arithmetic. A manual sorting-and-packing post for one machine needs 1 operator per 2 machines at two shifts, so 1 full-time equivalent per machine per day at USD 9,600 annual loaded cost. Removing that operator saves USD 9,600 per year per machine. The integrated downstream package (conveyor, vision, checkweigher, bin filler, guarding, integration) runs USD 38,000 to 62,000 for a single-cell build. With scrap reduction from short-shot catching worth another USD 6,000 to 11,000 yearly, the combined saving is USD 15,600 to 20,600 per year. That yields 14 to 18 months payback on a mid-range installation, faster where labor rates exceed USD 12 per hour.
ROI improves with scale. A four-machine cell shares one packing robot and one checkweigher, so the per-machine integration cost drops from USD 50,000 to USD 31,000, and payback tightens to 11 to 13 months. Buyers should model the cell, not the machine, because the downstream link is where the money is won or lost.
Phased Implementation Roadmap
Most plants should not automate everything on day one. Phase one connects the robot to a belt conveyor and a part-present sensor, eliminating the walk-and-carry task for USD 9,000 to 14,000. Phase two adds vision and checkweighing to kill the manual inspection, typically 8 to 14 weeks later, at USD 16,000 to 24,000. Phase three adds bin filling and case packing, removing the last operator, at USD 13,000 to 24,000. Each phase pays back inside its own window, so capital approval is easier and risk stays contained. A phased plan also lets the engineering team learn the signal handshake on a simple belt before layering vision and packing logic on top.
Set acceptance criteria per phase. Phase one passes at 99.2% drop accuracy and zero micro-stops longer than 3 seconds attributable to conveying. Phase two passes at 0.3% or lower false-reject rate over 20,000 parts. Phase three passes at one operator-free shift with under 1% packing defect. Sign off each gate before funding the next.
FAQ: Downstream Automation After Take-Out
Which conveying method fits small silicone gaskets best?
A vibratory feeder is usually correct for gaskets under 30 g because it meters and orients them single-file, but protect the soft surface with a coated lane and keep amplitude low to avoid surface marking. For very thin or tacky silicone, a slow belt with a shaped orienting chute often beats vibration.
How accurate must the checkweigher be to catch short shots?
Size the tolerance to the defect. If short shots run at least 0.8 g light against a normal batch variation of ±0.3 g, a ±0.15 g band is a safe setting. Recalibrate with certified masses at commissioning and re-verify monthly to hold drift under 0.1 g.
Can one robot run both take-out and case packing?
It can on low-rate cells, but coupling the packing fault to the molding cycle is risky. Above 600 parts per hour, run the packer on a separate controller with a buffer between them so a jammed case erector never stops the mold.
What signals are mandatory in the handshake with the conveyor?
At minimum: robot "part released", conveyor "zone clear", vision "reject detected", checkweigher "divert now". Map them on EUROMAP 67 or 73 with 20 to 50 ms debounce, and document every line in the FAT protocol.
What is a realistic payback for a full take-out-to-packing cell?
For a single mid-range cell at typical Asian labor rates, 14 to 18 months including scrap savings. A four-machine shared cell drops to 11 to 13 months because integration cost is spread across more machines.