
Leave Your Message
3-Axis Servo Robots for Food-Grade Silicone Molding: A Practical Specification Guide for Buyers
3-Axis Servo Robots for Food-Grade Silicone Molding: A Practical Specification Guide for Buyers
Food-grade silicone is quietly everywhere — baby bottle nipples, baking mats, reusable food storage seals, drinkware gaskets, spatulas, and the soft touch points on appliances that actually go near a mouth. Molding it at volume is a different discipline from molding rigid thermoplastics, and the part where most automation projects stall is not the injection press. It is the hand that picks the part out of the mold.
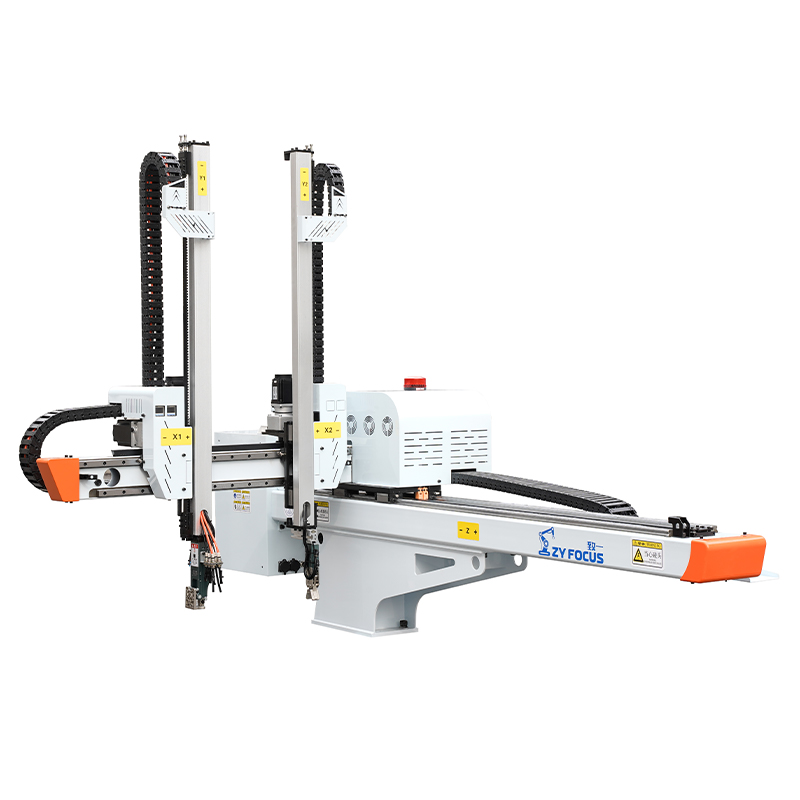
This guide walks through what a 3-axis servo robotactually needs to do on a food-contact silicone line, where buyers quietly overspec or underspec, and how to translate a process requirement into A Robot specification that survives contact with a quality auditor. No vendor cheerleading — just the engineering and commercial trade-offs that matter once the machine is on your floor and the first audit is booked.
What's inside
- Why food-grade silicone is unforgiving
- Why a 3-axis servo, not 5-axis or pneumatic
- The end-of-arm tooling is where projects live or die
- Cleanroom reality and contamination control
- Cycle time, synchronization, and throughput math
- Payload, reach, and the trap of over-sizing
- Integration, controls, and recipe management
- Validation and the paper trail buyers forget
- Total cost of ownership, not sticker price
- A buyer's RFQ checklist
- FAQ
Why food-grade silicone is unforgiving
Liquid silicone rubber (LSR) is a two-part, platinum-cured elastomer. The A and B components are metered, mixed in a static mixer, and injected into a heated mold where cure happens through a chemical cross-linking reaction rather than cooling. Typical cure temperatures sit around 160–230 °C, and the parts that come out are flexible, low-rigidity, and often genuinely sticky against metal and against themselves.
That combination sounds minor until you watch a line run. A rigid polypropylene lid will hold its shape and drop cleanly. A thin-walled silicone baking cup will deform under its own weight, cling to the cavity, and pick up a fingerprint-shaped blemish if the take-out motion is even slightly aggressive. Cosmetic acceptance for food contact is stricter than most industrial buyers expect — a scuff, a parting-line witness mark, or a stray oil smear is a reject, not a cosmetic footnote.
Manual demolding does not scale here for three reasons. First, cycle times on LSR are short — commonly 12 to 60 seconds depending on wall thickness and cavitation — so a human operator is either a bottleneck or a contamination risk. Second, hand contact on food-contact parts triggers retraining, glove protocols, and traceability headaches. Third, consistency. A robot lands the same way on cavity 1 and cavity 64; a tired operator at hour seven does not.
Rule of thumb from the floor: if your part is thin, floppy, or visually critical, the robot is not a labor-saving accessory. It is part of the process that makes the part conforming.
Why a 3-axis servo, not 5-axis or pneumatic
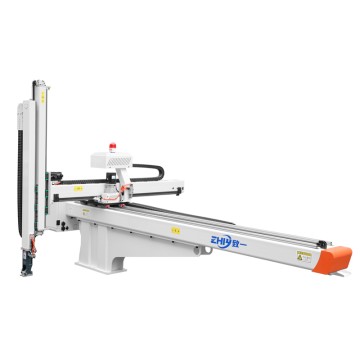
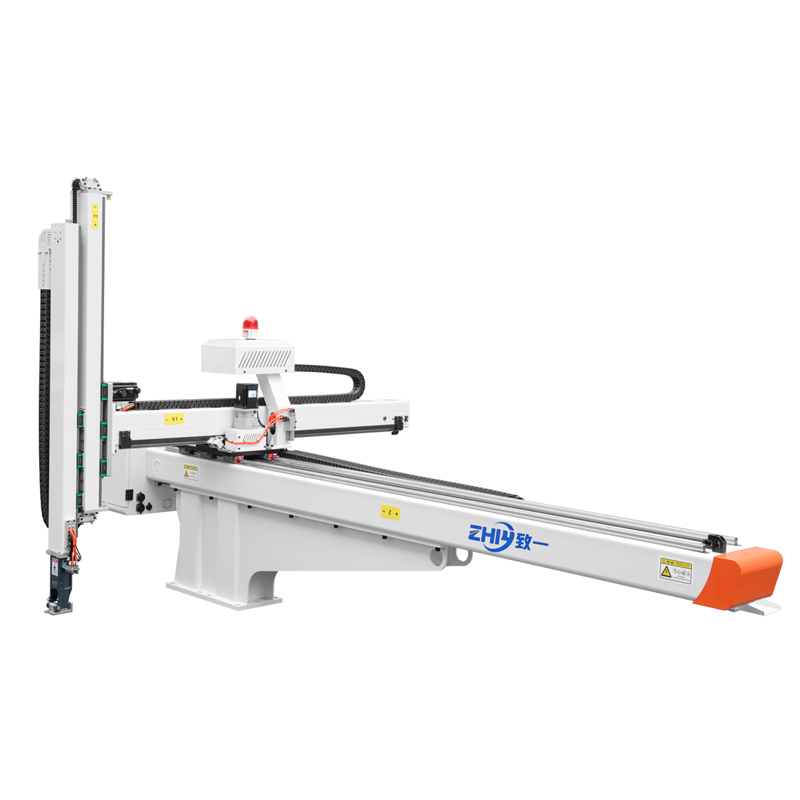
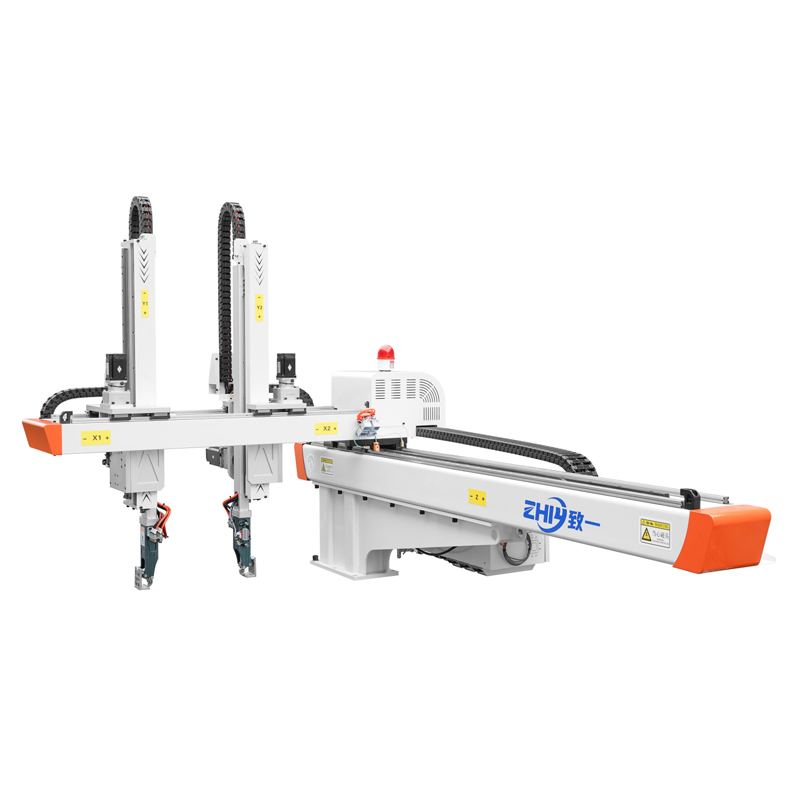
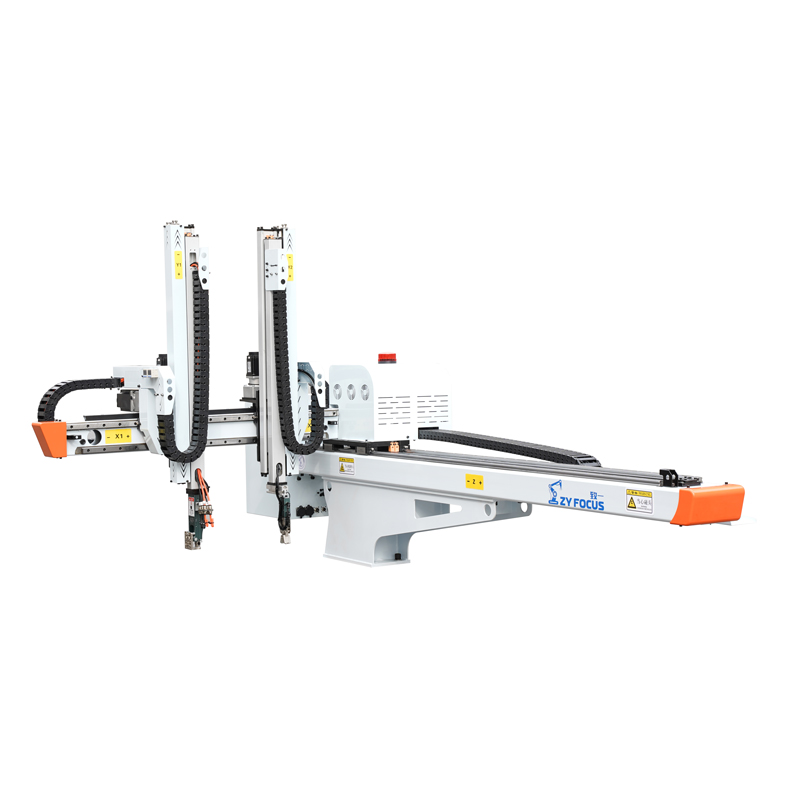
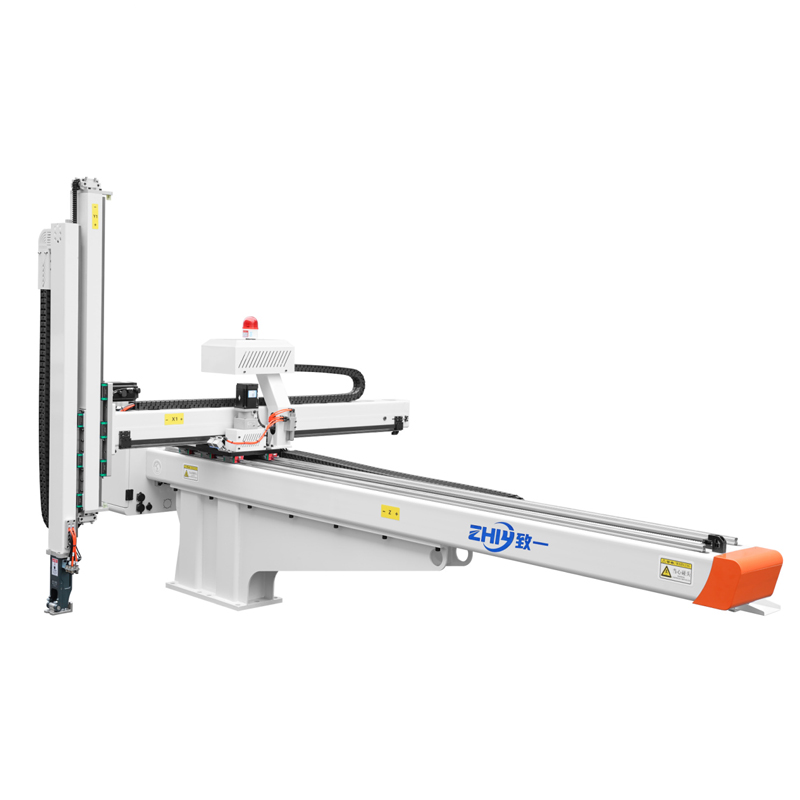
On an injection molding machine, a top-entry (downstroke) 3-axis Robot Moves on three orthogonal axes: traverse across the machine (X), vertical take-out from the mold (Y), and crosswise toward the operator or a conveyor (Z). That motion profile covers the overwhelming majority of silicone take-out jobs: pull the part straight out of the open platen, swing it clear, place it on a belt, into a bin, or onto a stacking nest.
The servo question is the bigger one. Pneumatic (air-driven) robots are cheaper up front and fine for robust thermoplastic parts. They are a poor fit for food-grade silicone for one reason: you cannot easily program a soft landing. A pneumatic cylinder reaches the end of its stroke and stops, full force. A servo axis decelerates on a curve you define, so the gripper eases into the part, holds a controlled dwell, and retracts without snapping the part off the cavity. For a material that deforms under light load, that programmable gentleness is the difference between 99% good parts and a scrap bin.
So where does 5-axis come in? A 5-axis (or 6-axis articulated) cell earns its cost when the part needs reorientation, insertion of an in-mold label or metal insert, or complex placement into downstream packaging. If your process is straight take-out plus simple placement, paying for two extra axes is paying for motion you will never use — and every extra axis is another calibration step and another validation variable. Most food-grade silicone lines are better served by a well-specified 3-axis servo than by an over-built articulated cell.
| Option | Best when | Cost / complexity | Watch-outs on silicone |
|---|---|---|---|
| 3-axis servo (top-entry) | Straight, repeatable take-out and placement; high cavitation; short cycles | Moderate | EOAT design is the real work; limited reorientation |
| 5/6-axis articulated | In-mold insertion, complex stacking, tight cell footprint | Higher | More calibration, more validation, slower cycle if not tuned |
| Pneumatic 3-axis | Robust, non-critical parts; tight capital budget | Lowest | Harsh end-of-stroke; hard to protect delicate food-grade surfaces |
| Gantry / Cartesian | Very large platens or multi-machine tending | High (footprint) | Floor space and cleanroom envelope become constraints |
The end-of-arm tooling is where projects live or die
Buyers spend 80% of their attention on the robot arm and 20% on the end-of-arm tooling (EOAT). On food-grade silicone it should be the reverse. The EOAT is the only part of the system that touches the product, so it defines both your yield and your compliance story.
Silicone parts are conformal and grippy, which makes vacuum the usual choice. But the details decide success:
- Cup material must be food-contact rated. Random PVC or unrated elastomer cups are a non-starter for food applications. Specify FDA-grade silicone or a documented food-safe elastomer, and keep the certificate on file.
- Anti-static behavior matters. Silicone loves to attract lint and dust. An EOAT that generates static is a contamination source. Ionizing bars or anti-static rated surfaces pay for themselves in rejected-part reduction.
- Structure in 304 or 316 stainless, smooth-finished. No exposed threads, no blind pockets where compound or particles collect. The auditor will look, so design for it.
- Plan for quick-change. Food-grade silicone lines frequently run multiple SKUs. A manifold that swaps in minutes — not a 45-minute teardown — keeps changeover scrap low.
- Build in compensation. Cavity-to-cavity variation and part shrinkage mean a rigid 16-cup plate will miss some parts. Compliant mounts or light spring loading save you from a line that only runs well on Mondays.
Here is a point that gets missed: the EOAT can weigh more than the parts it carries. A 16- or 32-cavity manifold with stainless framing, valves, and vacuum lines is bulky. That mass eats into your payload budget and your cycle time, so the EOAT should be engineered down, not just bolted together.
Cleanroom reality and contamination control
Not every food-grade silicone line needs a classified cleanroom, but most benefit from a controlled, low-particulate zone — and the regulator's definition of "clean enough" keeps tightening. If your customer specifies ISO 14644-1 class limits, the robot has to respect them.
The contamination risks from the robot itself are mundane and easy to overlook:
- Lubricants. Standard industrial greases shed particles and are not food-safe. Specify NSF H1 food-grade lubricants or cleanroom-rated, low-outgassing bearings at the points that move.
- Cable and hose dress. Loose, dragging cables shed jacket material. Proper energy-chain management keeps particulates where they belong — off the part.
- Surface finish and washdown. If the cell is in a washdown area, IP65-rated enclosures and smooth, wipeable surfaces are not optional. A robot you cannot clean is a robot you cannot certify.
- Color coding. It sounds trivial, but separating food-zone components from maintenance-zone components by finish or color prevents a careless swap from breaking your validation.
Contamination control is mostly discipline, not exotic hardware. The expensive mistakes are the boring ones: the wrong grease, the undressed cable, the one bolt someone replaced with a non-rated part during a midnight repair.
Cycle time, synchronization, and throughput math
An LSR line is a tightly coupled system: the dosing skid meters A/B, the press injects and cures, the mold opens, and the robot must be in position the instant the platen is clear — then gone before the next close. Miss that window and you either crash the cycle or sit idle.
Repeatability near the mold should be in the region of ±0.1 mm or better. That tolerance is what lets the gripper find a small part in a deep, hot cavity without touching the steel. Servo control also lets you tune the dwell — hold the part a beat longer if the cure is slightly soft, shorten it when the process is hot — without re-tooling.
Do the throughput math before you buy, because it anchors every other decision:
| Variable | Example value | Effect |
|---|---|---|
| Cycle time | 30 s | 120 shots/hour |
| Cavitation | 16 parts/shot | 1,920 parts/hour |
| Robot take-out share | ~3.5 s of 30 s | Must stay under platen-open window |
| Yield after automation | 98.5% vs 95% manual | ~67 fewer rejects/hour at this volume |
The lesson is not the specific numbers — it is that the robot's few seconds of motion gate the entire line's output. A robot that is 0.5 s too slow on take-out does not just add 0.5 s; it can force a longer overall cycle or a lower cavitation than the tool was designed for. Size the motion profile to the mold-open window, not to a catalog's generic speed claim.
Payload, reach, and the trap of over-sizing
Combined working load is the robot's rated payload minus everything hanging off the wrist: the EOAT, the full part load, and the vacuum plumbing. Industry practice is to keep your real working load around 15–20% under the rated maximum so the servo is not constantly near its torque limit. Run it at the edge and you shorten component life and invite jitter.
Reach is the other half. The arm must clear the mold face, travel to the drop or conveyor, and do both without a collision with tie bars or safety guarding. Undersized reach means the part is placed too close to the heat and the open platen — a reliability problem. Oversized reach means a heavier, more expensive arm with more inertia, which fights your cycle-time budget.
Buyers often over-spec here "just to be safe." Resist it. A 1,200-ton press does not need a robot sized for 2,300 tons unless you plan to move it. Match the arm to the actual machine tonnage, cavity layout, and cell envelope, and you keep both cost and inertia in check.
Integration, controls, and recipe management
The robot is a subsystem of the press, not a standalone machine. Plan the handshake early:
- Machine interface. Euromap / SPI AN protocols or OPC UA are the common languages. Confirm the press and the dosing skid both speak to the robot controller before you commit.
- Interlocks and safety. Light curtains, gate interlocks, and a defined safe-stop on mold-area intrusion are mandatory. Food lines get audited on lockout/tagout discipline.
- Recipe management. Each SKU should be a stored program: strobes, dwell, placement, vacuum level. Operators select a recipe, not a string of manual adjustments. That consistency is exactly what an auditor wants to see.
- Data. Even basic OEE capture — cycles, faults, rejects — turns the cell from a black box into a managed asset. You cannot improve what you do not measure, and your customer will eventually ask for the numbers.
Validation and the paper trail buyers forget
Food-contact manufacturing lives and dies on documentation, and the robot touches the product, so it is in scope. Before delivery, build the document set into the purchase order, not as an afterthought:
- Material compliance for any surface contacting the part — FDA 21 CFR, EU 10/2011, or LFGB as the customer requires.
- Cleanroom rating evidence where applicable (ISO 14644-1 certificates for the relevant class).
- CE and ISO 9001 documentation, plus any regional electrical and safety certifications for the destination market.
- FAT (factory acceptance test) and SAT (site acceptance test) protocols, with the cell running your actual tool and material.
- IQ/OQ/PQ support — installation, operational, and performance qualification — so the line can be validated end to end.
- A spare-parts list with lead times, and a documented training plan for your operators and maintenance staff.
A supplier who treats validation as a courtesy is a supplier who will slow your launch. Make the paperwork a contractual deliverable with dates, and the project stays on schedule.
Total cost of ownership, not sticker price
The purchase price of a 3-axis servo robot is a fraction of what it costs to own over five years. Build the comparison on the full picture:
- Energy. Servo drives draw power on demand and idle near zero; pneumatic systems leak air continuously. At high cycle counts the energy gap is real.
- Scrap. Fewer cosmetic rejects and less flash handling often offset the automation cost faster than labor savings alone. On visually critical food parts, this is usually the biggest lever.
- Downtime. Modular, quickly serviced designs and local spare-part availability beat a cheaper arm that waits two weeks for a component.
- Validation and changeover. Fast, documented changeovers reduce the hidden cost of running many SKUs — common on food-grade silicone lines.
Most teams we see recover the investment on a well-run food-grade silicone cell inside roughly 8 to 18 months, weighted heavily by scrap reduction and labor reallocation rather than headcount cuts. Treat the payback model as a planning tool, not a promise — your cycle, cavitation, and reject baseline set the real number.
A buyer's RFQ checklist
When you go to market, a precise RFQ gets precise quotes and prevents the "we can do that" answers that hide scope. Put at least the following in writing:
- Press tonnage and platen/ tie-bar geometry, with the mold's open dimension.
- Cavity count, part weight, and part envelope (including the floppiest orientation).
- Target cycle time and the mold-open window available to the robot.
- Required cleanroom class and any washdown / IP rating.
- Food-contact regulations the product must meet (FDA, EU 10/2011, LFGB, or other).
- Cell envelope and where the part must be placed (conveyor, nest, bin, secondary station).
- EOAT responsibility — who designs and validates the gripper, and against what sample parts.
- Required validation documents (FAT/SAT, IQ/OQ/PQ, material certs) and their due dates.
- After-sales expectations: response time, spare-parts stocking, on-site support, training.
Hand a supplier that checklist and you will quickly tell the ones who have actually run food-grade silicone from the ones who have only read the brochure.
FAQ
Can a standard 3-axis servo robot run food-grade silicone, or do I need a special model?
The axis architecture is usually fine; the differences are in the details — food-rated EOAT, compliant lubricants, clean dressing, and the documentation. Ask specifically about food-contact surfaces rather than assuming a "standard" arm meets it.
Is a 5-axis robot worth it for complex silicone parts?
Only if you need reorientation, in-mold insertion, or intricate placement. For straight take-out and simple placement, 5-axis adds cost, calibration, and validation load without earning it back.
How do I stop silicone parts sticking to the EOAT?
Right cup material, controlled vacuum release timing, anti-static measures, and a part design that includes sensible draft and release. The robot handles motion; the tooling and material spec handle the stick.
What repeatability do I actually need?
Around ±0.1 mm near the mold for small, deep-cavity food parts. Looser than that and you risk touching steel or missing cavities; tighter is rarely necessary and costs more.
How long does a typical food-grade silicone automation project take?
From a clear RFQ to a validated cell, plan for several weeks to a few months depending on EOAT complexity, validation scope, and how ready your tool and material are. The EOAT and paperwork — not the arm — usually set the schedule.
What is the single most common mistake buyers make?
Treating the robot as a box to buy instead of a system to specify. The arm is commodity; the EOAT, contamination control, and validation are the project.
Bottom line: a 3-axis servo robot is the right default for food-grade silicone take-out in most cases — it gives you the programmable gentleness the material demands without the cost and complexity of extra axes you will not use. But the buying decision should center on the part that touches the product and the documentation that proves it is safe. Get the EOAT, the cleanroom details, and the validation paper trail right, and the arm almost takes care of itself.